,
With dine-in re-openings happening in many locations, many restaurants are altering their dining room layouts to comply with physical distancing recommendations, and help keep customers and staff safe. Some are even creating new seating in outdoor spaces. This issue explains how you can update your dining room floor plan in SpeedLine to match new seating arrangements.
Create a New Dining Layout
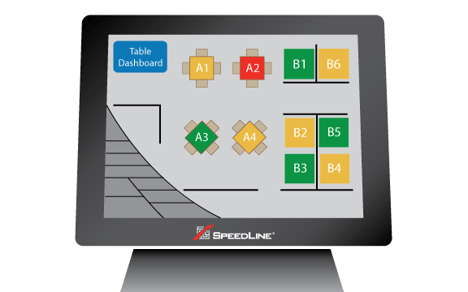
Terminal's table map and dashboard help servers and managers keep on top of what's happening in the dining room. For optimum efficiency, it's important that the map matches the actual open tables in your dining areas. The steps below walk you through how to update the map for an alternative layout.
To Create a New Table Screen Layout:
- In Store Manager, click the Settings tab.
- In the sidebar menu, click the Orders group, and then click Table Service.
- Click the Floor Builder tab. Your current table map appears.

For helpful tips while working on your floor plan, press F1 while on the Floor Builder tab to open the Build a Table Floor Plan help topic.
- First, you'll want to save a copy of the original floor map, so you can reinstate it later.
- On the Floor Builder toolbar, under File, click the Save button.

- Navigate to the C:\SpeedLine\Floor Builder Images folder on your hard drive, and save the plan with a descriptive name like "Floor plan - no distancing."
- Now that you have a backup, you can edit the current layout by doing one or more of the following:
- If you have a similar plan from another location, you can use it as a starting point: click the Open button
 and navigate to where you've saved the SpeedLine floorplan (.slfp) file.
- On the Edit menu, click Full Screen to give yourself more space.
- Click a table or other object to select it.
- Press Delete on your keyboard to delete a selected object, like an unused or removed table.
- Click and drag to move objects.
- To change the size of tables, click a table (hold down the Shift key to select multiple tables), and in the table property editor on the left, change the Size to Small.
- Click the letter "A" in the toolbar to add a text label, and then click the Caption field in the property editor at the left to enter the text label.
To add a new seating area, like a patio:
- If you use seating sections, in the toolbar under Add to Section, click the Add button
 , and give the patio section a unique code and name.
- With Add to Section set to your new patio area, click the Table button on the toolbar
 and then click on the plan to add tables.
When done changing the floor plan:
- Exit full screen mode on the Edit menu, and then on the Edit menu, click Save Changes.
- Wait until after closing, and then refresh Terminal and touch Table to activate and test the new plan.